So, Let’s Start.
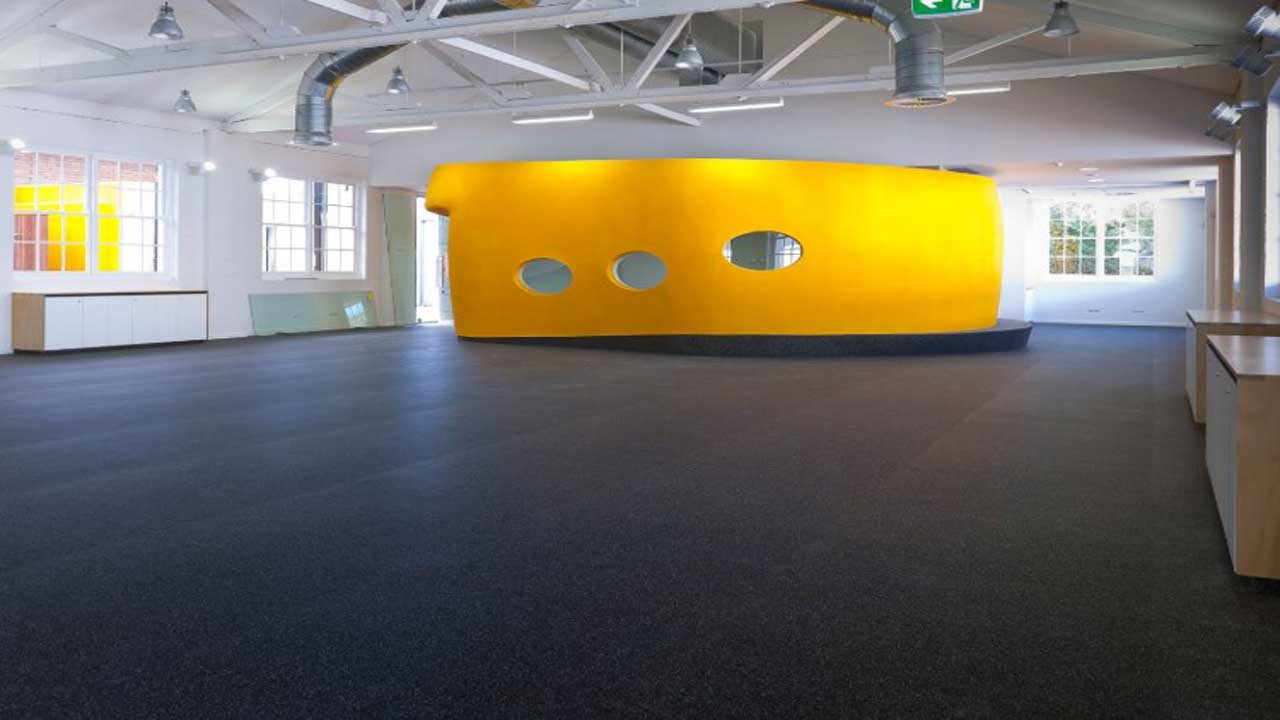
Resilient Flooring.
Floors made from materials such as PVC, linoleum, rubber, etc. are called resilient floors.
Resilient floors are generally laid in offices, computer rooms, show rooms, etc.
A brief account of the laying of the resilient flooring types is given in this article.
Types of Resilient Flooring.
Following are the three types of Resilient Flooring.
1. PVC (vinyl floors),
2. Linoleum flooring,
3. Rubber flooring.
1. PVC (Vinyl floors).
In PVC (vinyl) floors, the thermoplastic binder can be vinyl chloride polymer or vinyl chloride copolymer or both.
The floor covering is backed with hessian or other woven fabric.
Modern vinyl asbestos tiles have 40 percent of chrysotile asbestos fiber together with powdered mineral fillers and pigments.
It has greater resistance to grease for kitchen use even though it may not be wise to use it for industrial kitchens.
They may also be supplied as tiles.
2. Linoleum Flooring.
Linoleum consists of oxidized or polymerized linseed oil and/or other suitable drying oils with the necessary driers and additives.
Special grades are made by changing the type of drying oils and resins.
3. Rubber Flooring.
Rubber flooring is composed of natural rubber with various filling compounds.
Because of the high cost of rubber, it is rather expensive. They are produced in sheets and also in tile form.
An even sub-floor is very essential for successful rubber flooring, and the laying of these resilience floors is a specialized job.
All these floors should be laid on a thoroughly damp-proof surface as otherwise moisture slowly rots the base and damages the adhesive resulting in the sheets/tiles being separated from the base.
Then they tend to curl up.
The sub-floor drying can be determined accurately by the electrical resistance test or hygrometer test.
The moisture content should not be more than 5 to 6 percent for good results.
A qualitative determination can be made by sealing a sheet glass of 300 x 300 mm on the surface of the floor to be tested by putty (or any other suitable scaling material) and observing the surface after 24 hours.
If the covered area of the glass is darker than its uncovered area, the floor is considered too wet and should be allowed to dry.
Unless it is specifically required, it is better to avoid these materials for use in ground floors.
PVC and linoleum are not used for skirting and dado. Wood is preferred for such works with these floors.
The methods of laying these floors are dealt with in this article.
Laying of PVC Vinyl Floor.
PVC flooring is usually laid on concrete sub-floors, and the work should be taken only after plastering, painting, etc. is completed.
Special adhesives such as rubber-based or polyvinyl acetate are to be used for sticking these materials to the base.
As already explained above, the sub-floor should be dry when laying is taken up.
When laying on ground floors, the concrete sub-floors must be laid in two layers to make it level and moisture-proof.
The top of the lower layer concrete should be painted with two coats of bitumen at the rate of 1.5 kg/sq.m to make it absolutely damp-proof.
For this purpose, the surface is finished smooth, and the bitumen is applied after the concrete has set and sufficiently hard and sanded.
It should be noted that at the junction of floor and wall, the damp-proof course as above should also extend into the wall for at least 150 mm above the sub-floor.
When laying in rooms that are to be always air-conditioned as in computer rooms, it is ideal for the floor to laid on the sub-floor under stable condition,
i.e., the air-conditioner working for several days with the temperature between 20-30°C before laying the floor.
This condition should be maintained during laying and also for 2 days after laying.
Resilient Flooring during monsoons on high humidity conditions should be avoided.
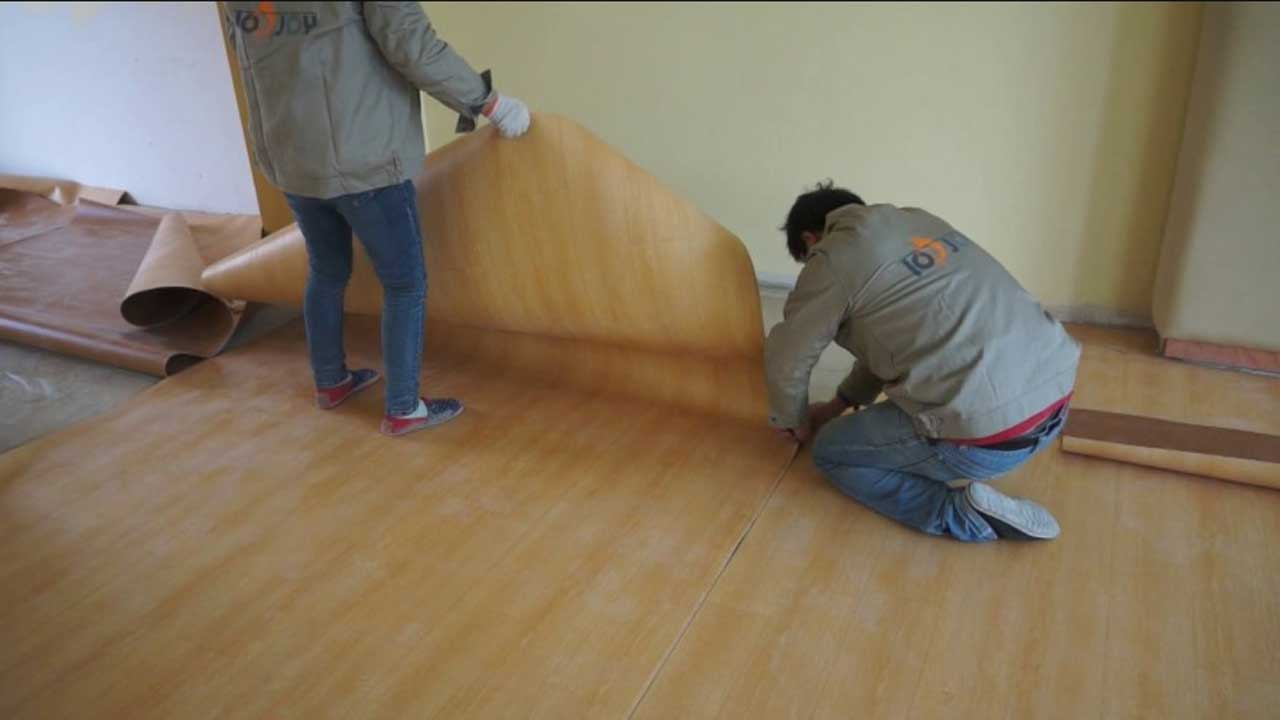
When using sheets, each sheet should be first laid out for trial without using adhesives according to the desired layout.
The surface should be clean and dry.
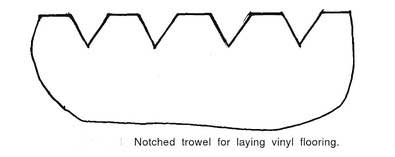
The adhesive is applied by using notched trowel (below figure) to the sub-floor and the back of PVC sheet or tile.
It is allowed to set, free from dust and moisture for about half an hour when it will still be sticky but will not take finger marks.
The flooring sheet is then slowly and carefully placed in position from one end onwards so that no air is entrapped between the sheet and the background surface.
The sheet is then pressed by a roller to develop proper contact with the sub-floor.
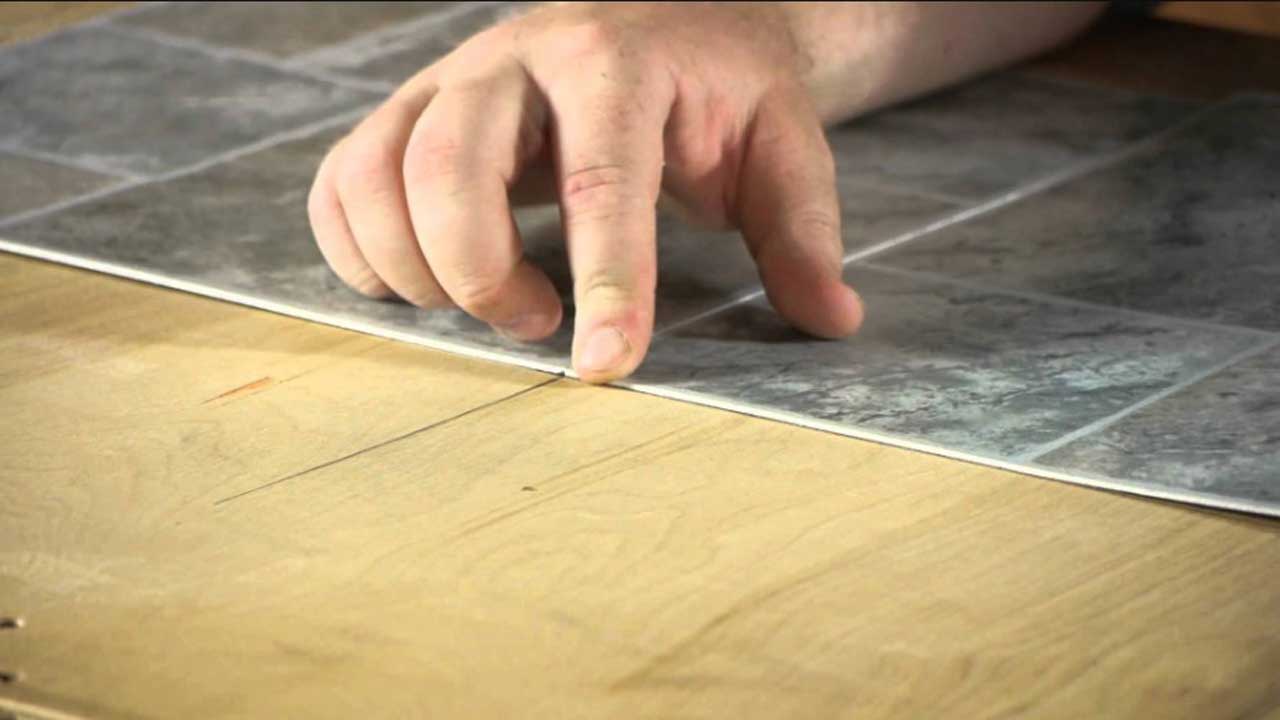
The next sheet is then laid edge to edge with minimum gap between the joints.
When using tiles of these materials, they are usually laid from the center of the area or other places as explained.
Care should be taken not to slide them but to lower them into position and roll with a wooden roller weighing 5 kg to ensure full contact between the tile and underlay.
If any defect is noticed in laying, the tile should be relaid.
The adhesive applied earlier to tile and sub-floor should be thoroughly removed by using a proper solvent and the surfaces thoroughly cleaned before relaying.
Any adhesive squeezed between sheets or tiles should be wiped off immediately by a cloth. If any adhesive between joints has dried up, it should be cleaned by a solvent.
A solution of one part of commercial butyl acetate and three pans of turpentine oil is suitable as a solvent.
Where the edges of PVC sheets are exposed as on stair treads, suitable protection by means of metallic strips securely fastened to the sub-floor should be used to avoid damage to the edges.
A minimum period of 24 hours should be allowed for the development of the bond of the adhesive and for this time, the finished floor should not be put to any use.
After that, the floor is cleaned with a wet cloth soaked in dilute warm soap solution made with two spoons of soft soap in five liters of warm water.
Laying Linoleum Floors.
Linoleum floors also require a dry and damp-proof surface. It is important to brush away all dust and dirt from the floors before the flooring is laid.
Linoleum, if used as sheets, must be unrolled and laid loose for 2 to 3 days before it is cut to size as it shrinks in length and expands in width after rolling.
Special adhesive, as already mentioned above, is required for sticking the linoleum tiles to the floor (about 1/2 kg of adhesive per sq.m will be needed).
The adhesive is brushed over the base and allowed to become tacky.
The sheet is then firmly pressed down and rolled with a light cast iron roller to ensure that no air pockets remain under the sheet.
If any air pockets are found, the sheet should be relaid after brushing more adhesive on the base and rolled.
Sandbags are placed over the edges and joints to keep the sheet pressed down and prevent curling.
After laying, the excess adhesive must be removed with kerosene oil or spirit. T
he flooring should be cleaned with soap and wet cloth and then wiped dry.
It may be wax polished to give a smooth surface.
We must remember that linoleum perishes quickly under wet or moist conditions.
Laying Rubber Floors.
There are many types of rubber flooring and skirting.
They are available as plain sheets or with backings of fabric or foam or with fabric inset.
These resilience floors are costly and also deteriorate rapidly with direct sunlight especially in the presence of moisture.
These are also fixed to the level base floors by means of special adhesives.
Their laying is similar to vinyl and linoleum products.
They are mostly used in Gym and Libraries.
Read More: Unit Weight of Building Materials [A Complete List].
Excellent sir, You have shared very important information.
impressive article sir,
You spread valuable knowledge to us
thank you
Informative post sir, thank you for sharing this knowledgeable post, really this is very helpful.