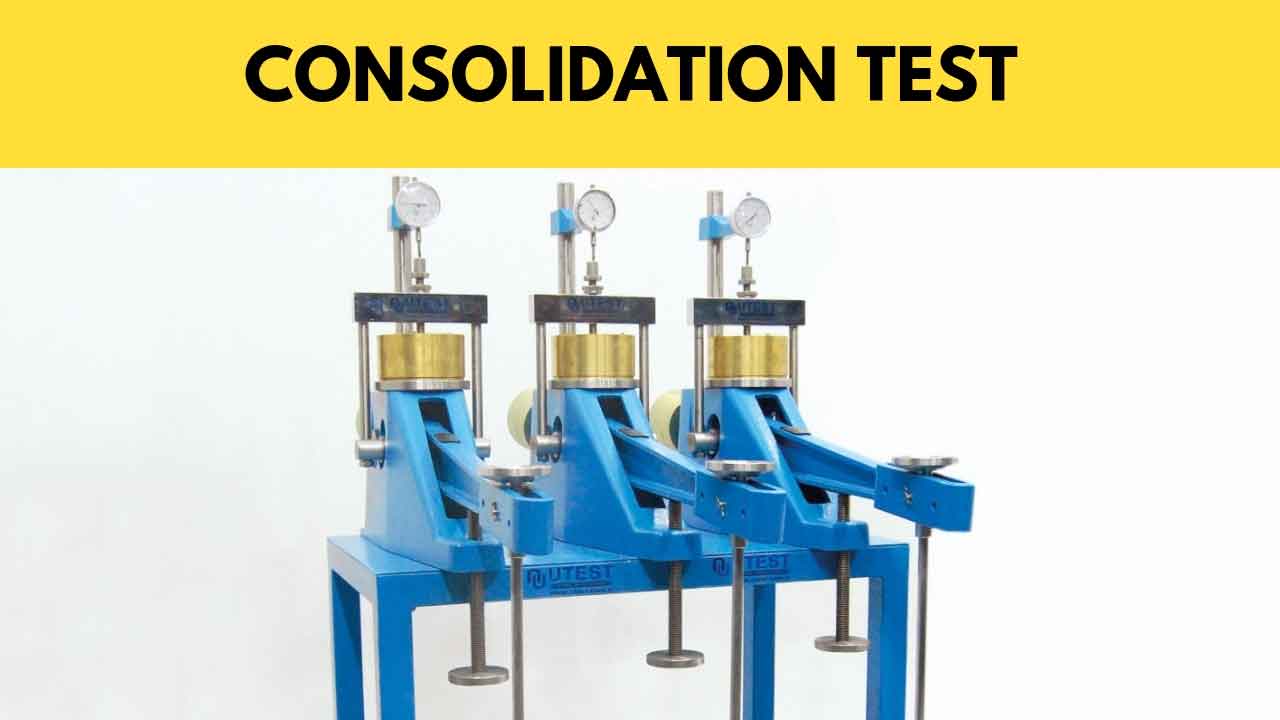
Consolidation Test of Soil.
Scope.
To determine the consolidation properties of soil.
Apparatus.
1. Consolidation ring – a rigid ring with a smooth and polished inner surface and provided with a cutting edge to facilitate the preparation of specimens.
The minimum diameter of the ring should be 60 mm with a diameter-height ratio of 3.0.
2. Porous stone – shall be of silicon carbide, aluminum oxide, or other porous materials with high porosity such that free drainage is assured throughout the test.
The diameter of the porous stone is 0.2 to 0.5 mm less than that of the inside diameter of the ring.
The stone size varies depending on the type of ring.
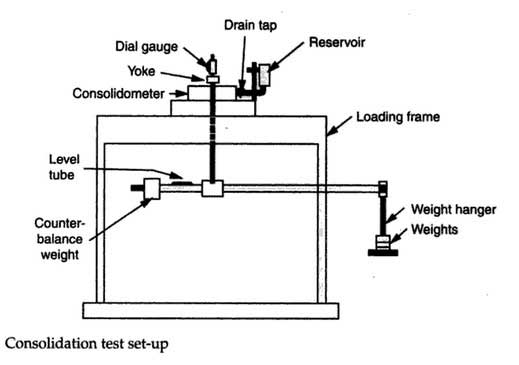
3. Consolidation cell – a container to house the consolidation ring has a provision to hold water and allow measurement of the change in the height of the specimen at its central axis.
4. Dial gauge- has a length of travel of 50% of the specimen height with an accuracy of at least 0.001% of the specimen height.
5. Loading device -capable of taking axial loads in suitable increments with a suitable lever ratio and of maintaining this for a large duration of time with an admissible variation of ±1% of the applied load.
There should be no significant impact during load application.
It should be located in an area free from vibrations.
6. Sample extruder.
7. Trimming equipment.
8. Equipment for water content determination.
9. A balance of 0.01 g sensitivity.
10. Stopwatch with least count of 1 second.
Procedure.
1. Find the mass of the empty consolidation ring (M1).
2. Coat the inside surface with silicone grease or oil.
Trim the sample carefully to fit the consolidation ring and weigh the mass along with the ring (M2).
Keep a small quantity of the soil from the trimmings for water content determination.
3. Record the thickness of the specimen.
In case of difficulties in measuring the thickness, take the thickness of the ring as the initial thickness.
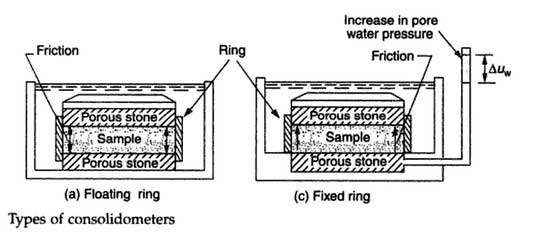
4. Depending on the type of ring (fixed or floating), choose the correct size of the porous stone.
Place the ring and the specimen centrally on the saturated bottom porous stone and place the upper saturated porous stone, followed by the loading cap.
5. Place the consolidometer in the loading device and attach the dial gauge.
Fill the consolidometer with water, apply a seating load of 5 KN/m2, and allow it to reach moisture equilibrium in 24 hours.
6. Apply the first load increment and simultaneously take deformation readings at elapsed times of 0.25, 0.50, 1, 2, 4, 8, 15, 30, and 60 minutes and 2, 4, 8, and 24 hours.
7. After 24 hours apply the increment load, keeping in mind the fact that the applied pressure at any loading stage should be double that at the preceding stage.
Apply the following loading sequence: 10, 20, 40, 80,160, 320 KN / m2. Each time repeat Step 6. 8.
8. On completion of the final loading, unload the specimen with pressure decrements which decrease the load to one-fourth the previous load.
Take dial gauge readings during each stage of unloading.
If desired, the same time interval as adopted during loading may be adopted.
Keep the last unloading at a pressure of 5 KN/m2 for 24 hours to minimize the swelling during disassembly.
9. Remove the ring, wipe the water on the outside of the ring, and find the mass (M3).
10. After drying, weigh the specimen with the ring and find the mass (M4).
Computations.
(a) Coefficient of consolidation.
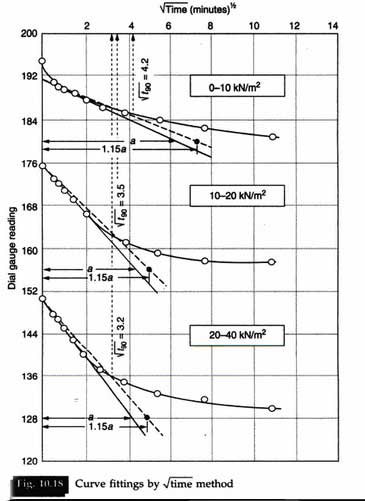
Plot dial gauge reading versus √t or versus log t for each load increment, and find the coefficient of consolidation from the following expressions.
(i) The square root of time method:
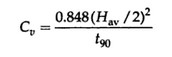
(ii) The Logarithm of time method:
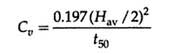
where Hav is the average thickness of the specimen for that load increment.
(b) The coefficient of compressibility.
The volume of solids, ![]()
where Ms = M4 – M1.
The equivalent height, Hs = Vs / A.
where A is the area of the specimen.
The void ratio e, at the end of each pressure increment, is given as;
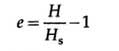
where H is the height of the specimen at the end of each pressure increment.
The coefficient of compressibility av, with units inverse of those for stress, is given as;

(c) Compression index Cc.
Plot the void ratio e versus log p.
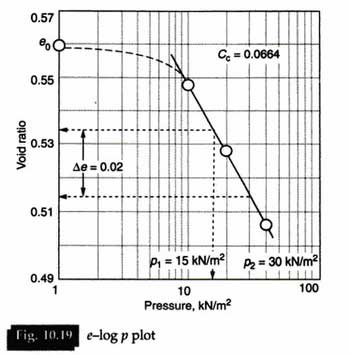
The slope of the straight line portion of the curve is the compression index Cc which is given as;
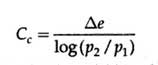
where p2 and p1 are the successive values of pressure and e is the change in the void ratio over the above range of pressures.
Results.
The consolidation test results are presented in the form of the following curves:
1. e versus log p.
2. Dial reading versus log t for different stress ranges.
3. Dial reading versus √t for different stress ranges.
4. av versus log p.
5. cv versus log p.
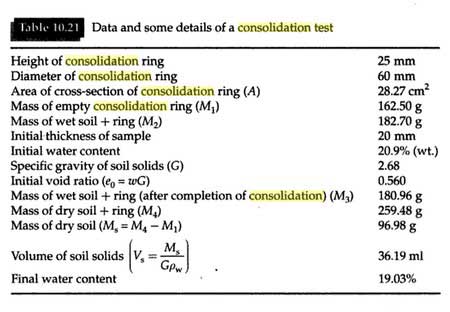
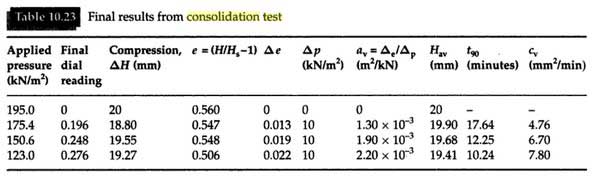
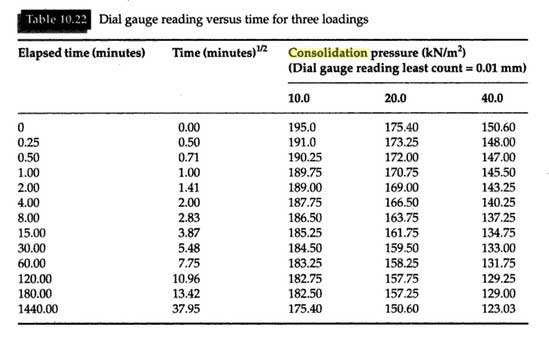
Some typical test results are presented in Tables 10.21, 10.22 and 10.23, and the corresponding plots are given in Figures 10.18 and 10.19.
Discussion.
As the effects of sample preparation are the same for any size of the sample, larger samples provide more reliable results.
The floating ring reduces the frictional loss along the sides of the sample between the soil and ring, and hence, the test rate is about four times faster.
The fixed ring has the advantage of measuring the k value of the sample as it is tested.
Read Also:
Determination of Particle Size Distribution of Soil by Sieve Analysis.
Determination of Field Density Test of Soil by Core Cutter Method.