So, Let’s Get Started.
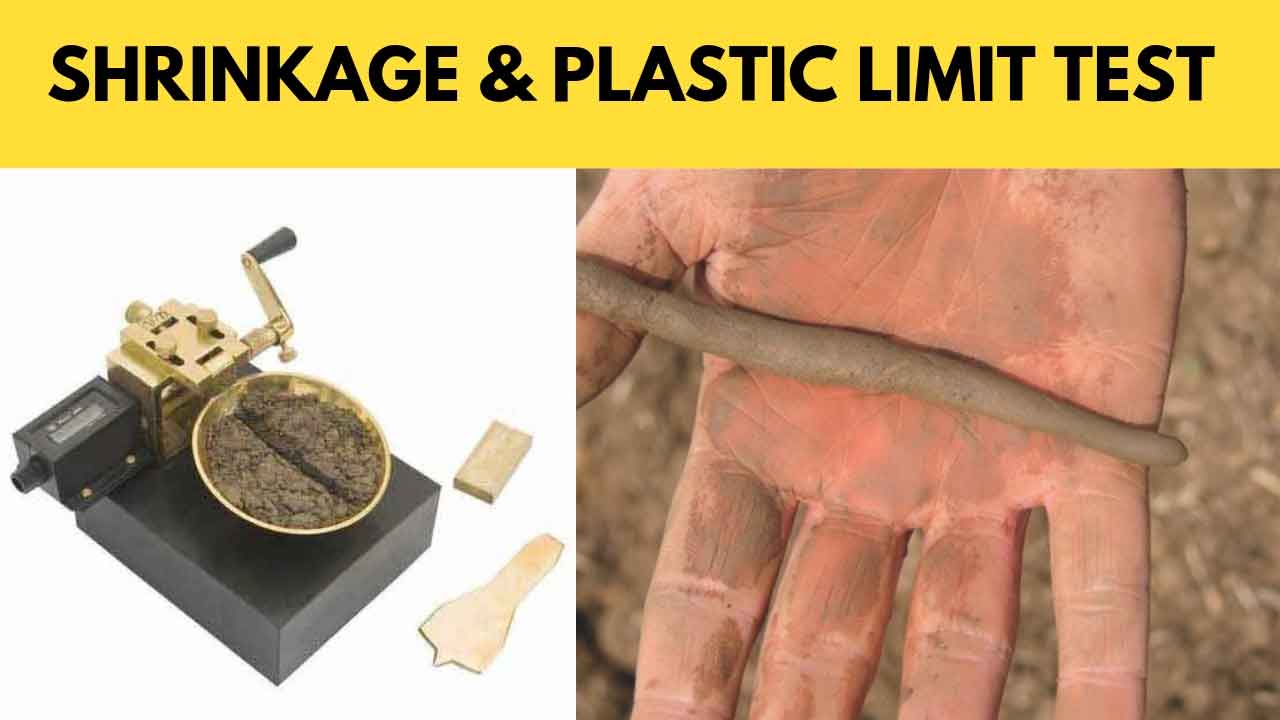
Plastic Limit Test of Soil.
Scope.
To determine the plastic limit of a soil.
Apparatus.
1. Evaporation dish or flat glass plate.
2. Palette knife or spatula.
3. Surface for rolling ground- glass plate about 200 mm x 150 mm.
4. A balance of 0.01 gram sensitivity.
5. Rod – 3 mm in diameter and about 100 mm long.
6. Apparatus for moisture content determination.
Procedure.
1. Take about 20 gm of soil passing through the 425 μm IS sieve in an evaporating dish or glass plate.
Add distilled water and thoroughly mix such that the soil mass becomes plastic enough to be easily molded with the fingers.
For clayey soils, allow sufficient time for moisture equilibrium.
2. Take about 8 gm of this wet soil, make a ball out of it, and roll it on the glass plate with the palm of the hand to form a thread of uniform diameter.
Continue the rolling till the thread is of 3 mm diameter.
Knead the soil together to form a uniform mass and roll again.
Continue the process of rolling and kneading until the thread just crumbles at 3 mm diameter.
3. Repeat Steps 1 to 3 to obtain two more determinations of the plastic limit.
Also, find the natural water content of the soil (wn).
Computations and Result.
The mean water content obtained from three trials is the plastic limit of the soil (wp).
Discussion.
For sandy soils, first determine the plastic limit; if it cannot be determined, report the plasticity index as Np (non-plastic).
When the plastic limit is equal to or greater than the liquid limit, the plasticity index is reported as zero.
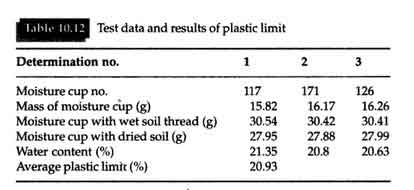
Typical data and results of a plastic limit test are shown in ##Table 10.12.
Shrinkage Limit Test of Soil.
Scope.
To determine the shrinkage limit, shrinkage ratio, shrinkage index, and volumetric shrinkage of soils.
Apparatus.
1. Evaporating dishes.
2. Spatula.
3. Shrinkage dish – 45 mm diameter and 15 mm in height.
4. Straight edge -150 mm in length.
5. Glass plates, plain and with metal prongs – 75 mm x 75 mm, 3 mm thick.
6. Glass cup – 50 to 55 mm in diameter and 25 mm in height.
7. Sieve – 425 μm IS sieve.
8. A balance of 0.1 gm sensitivity.
9. Mercury Desiccator – with any desiccating agent other than sulphuric acid.
Procedure.
1. Clean the shrinkage dish and weigh it (M1).
Fill the dish with mercury.
Remove the excess mercury by pressing a glass plate over the top of the dish.
Weigh the mercury, divide it by the density of mercury, and obtain the volume of the dish which is the volume of the wet soil (V).
2. Take about 30 gm of soil, passing the 425 μm IS sieve, in an evaporating dish and thoroughly mix it with water of an amount slightly greater than the liquid limit.
The soil-water mixture should be capable of flowing if allowed to drop.
3. Coat the inside of the shrinkage dish with a thin layer of grease and fill one-third of the dish with soil-water mixture.
Tap the dish on a firm surface, cushioned by several layers of blotting paper, rubber sheet, or similar material.
In three operations, completely fill the dish.
Strike off the excess soil paste with a straight edge, clean the outside surface, and weigh (M2).
4. Dry the soil pat in the air until the color changes from dark to light, and then dry it in a temperature-controlled oven.
After drying, cool it in the air and weigh the shrinkage dish and dry the soil pat (M3).
5. Fill the glass cup with mercury and remove the excess mercury by pressing the glass plate with three prongs firmly over the top of the cup.
6. Place the glass cup with mercury in a large evaporating dish and place the dry soil pat on the surface of the mercury.
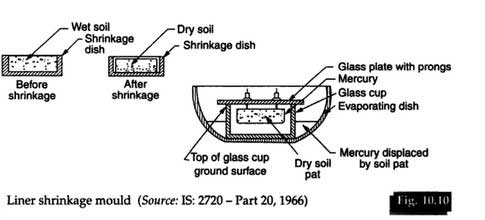
7. Force the soil pat under the mercury carefully by means of the glass plate with the prongs, so that the soil pat is completely submerged in mercury ##(Fig. 10.10).
Collect the displaced mercury, weigh it, and find its volume, which is the volume of the dry soil pat V0.
Computations.
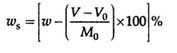
Moisture content of wet soil pat,

where,
M=M2-M1
M0=M3-M1
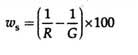
Shrinkage limit (re-molded soil).
Shrinkage index.
Is = Ip – ws
Shrinkage ratio
R = M0 / V0
Volumetric shrinkage (or volume change).
Vs = (w1 – ws)R
where w1 is the given moisture content in percent.
Shrinkage limit of re-molded soil when the specific gravity is known,
Result.
Result of Shrinkage limit test (re-molded soil) is repeated at least three times, and the average value is reported;
and if any test shows a variation of 2% against the mean, the test is repeated.
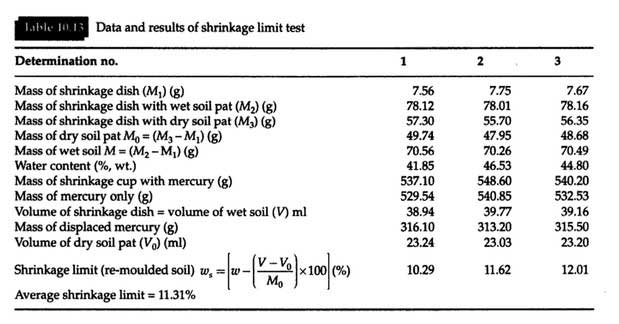
The shrinkage limit test result for a typical re-molded soil is given in ##Table 10.13.
Discussion.
In order to determine the shrinkage limit of undisturbed soils;
prepare a wet soil pat of dimensions 45 mm diameter and 15 mm height and round off its edges to prevent the entrapment of air during mercury displacement (IS: 2720 – Part 6, 1972).
Air-dry and then oven-dry the pat; cool it and weigh it (M0s).
Using the mercury displacement procedure, find the volume of the pat (M0s).
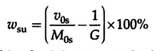
Then shrinkage limit of undisturbed soil,
The shrinkage limit test is useful in obtaining a quantitative indication of how much volume change can occur with changes in the water content.
Read Also: Atterberg Limits: Determination of Plastic, Liquid, & Shrinkage Limits.
Why glass plate have three prongs in shrinkage limit test
?
If the solid is 100g how about water put in this mixture,inshort how to determine water addition in the mixture?