Drywall is a robust construction material well-liked by many contractors. Most modern buildings utilize this material in ceilings and walls.
Still, no matter how strong it could be, it is not indestructible. It will degrade as time passes and will have cracks and holes. Fortunately, there are ways to fix such instances.
How to Patch a Drywall
Here are the best approaches that you can take depending on the issue:
Before You Begin!
You will need to know the utility placement of your building. You’ll have to locate the electric wires and other components. You can typically find them attached to the wall studs.
Using a stud finder is your best option if you cannot find the stud. Also, remember to use personal protective equipment (PPE).
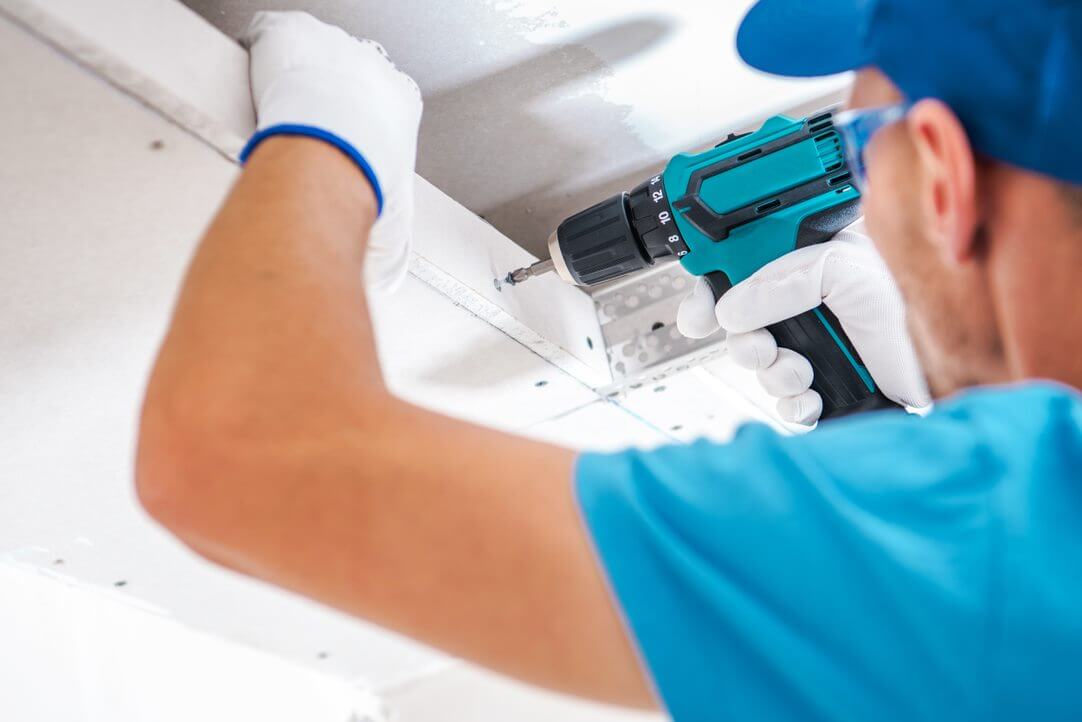
Professionals also highly recommend installing drywall fire-rated access panels for other components, especially the frequently needed ones.
Suppose your personnel requires access to these elements regularly for maintenance. For such an instance, it will be more efficient to have some installed than to destroy the surface material whenever they need to access them.
Patching Tiny Dings and Dents
Step 1: Scrape the opening of any residual material.
Step 2: Utilize a fast-drying spackling compound over the dent or hole to level it with the drywall surface.
Step 3: Allow the spackle to dry for 24 hours or as instructed by the manufacturer before sanding the area to smooth.
Fixing Small Holes
Step 1: Use a self-adhesive mesh patch for convenience over the hole.
Step 2: With a drywall knife, cover the patch in a crisscross pattern with a lightweight joint or spackling compound, feathering the edges to make it blend in with the wall.
Angle and apply pressure on the drywall knife to feather the edge and to “thin” the compound as you approach the outer borders or margins of the patch area.
Step 3: You must allow the compound to dry before you apply a second coating if it needs one. Then sand the area to smoothen it and remove excess material.
Fixing Medium Holes
Step 1: Cut a square of drywall two inches wider and taller than the area you need to patch.
Step 2: Scrape the backside of the drywall using a utility knife one inch from every side.
Step 3: Break off the gypsum while keeping the paper backing.
Step 4: Mark all around the gypsum square while holding the patch over the opening. The paper border should not be part of your transfer. Utilizing a drywall saw, remove the traced square.
Step 5: Spread some joint compound on the paper border’s backside. Place the gypsum into the freshly created hole, then firmly press the paper edges covered with the mixture around the hole’s exterior edge.
Step 6: Once the lines are no longer visible, completely cover the spot with joint compound and feather the edges.
Step 7: Two compound applications may be necessary for this patch, with drying time in between. You can then sand the area to smoothen it and remove excess material.
Read Also: 8 Tips for Improving Workplace Safety
Fixing Large Holes
Step 1: Create a square out of drywall slightly larger than the hole.
Step 2: Holding the square over the drywall opening, trace an outline around the perimeter.
Step 3: Using a drywall saw, cut the traced outlines.
Step 4: Screw a furring strip (a tiny, thin piece of wood) to both sides of the hole from within. You should drive the screws into the drywall below the surface.
Step 5: Installing the drywall patch requires screwing it into the furring strips so that the screws are no longer visible beneath the drywall’s surface.
Step 6: Place some joint tape on the patch’s edges. It is a mesh that tightens the binding between the patch and the wall to reduce motion and help stop cracks from developing in the future.
Step 7: Apply joint compound to cover the tape and patch, feathering the borders. Follow the manufacturer’s instructions for drying the mixture. If required, apply a second coat. Sand the area to remove extra material and to make it smooth.
Fixing Popped Nail Heads
Step 1: Reattach the drywall to the stud by using a drywall screw to drive 1 1/2 inches above the head of the burst nail. Set the screw head beneath the drywall’s surface so the spackle can cover it.
Step 2: Place the visible nail back inside.
Step 3: Apply spackle compound over the screw heads and nail to level them with the surface. Wait 24 hours or the amount of time suggested by the manufacturer. Then sand the area to remove extra material and to smooth the surface.
Fixing Damaged Corner Bead
Step 1: Cut the broken corner bead horizontally, above and below the mar using a hack saw.
Step 2: Link the top and bottom cuts on the drywall’s left and right sides by cutting vertically with a utility knife. Take out the broken part.
Step 3: Cut a new portion of the corner bead, and secure it to the wall using nails, adhesive, or fastener suggested by the manufacturer to cover the hole.
Step 4: To smooth out rough edges and fill any seams, use joint compound to the corner of both sides, feathering the edges and covering the bead patch. Then sand the area smooth after letting it dry.
The Takeaway
Knowing how to handle the material is winning half the patching work. By understanding the fundamental procedures, you can tailor your plan and make your process more efficient. However, if you are still unsure, you can seek the help of an expert. They’ll save you the hassle and ensure quality work, giving you peace of mind.